Contact us
If you have any questions or would like assistance, please do not hesitate to contact us.
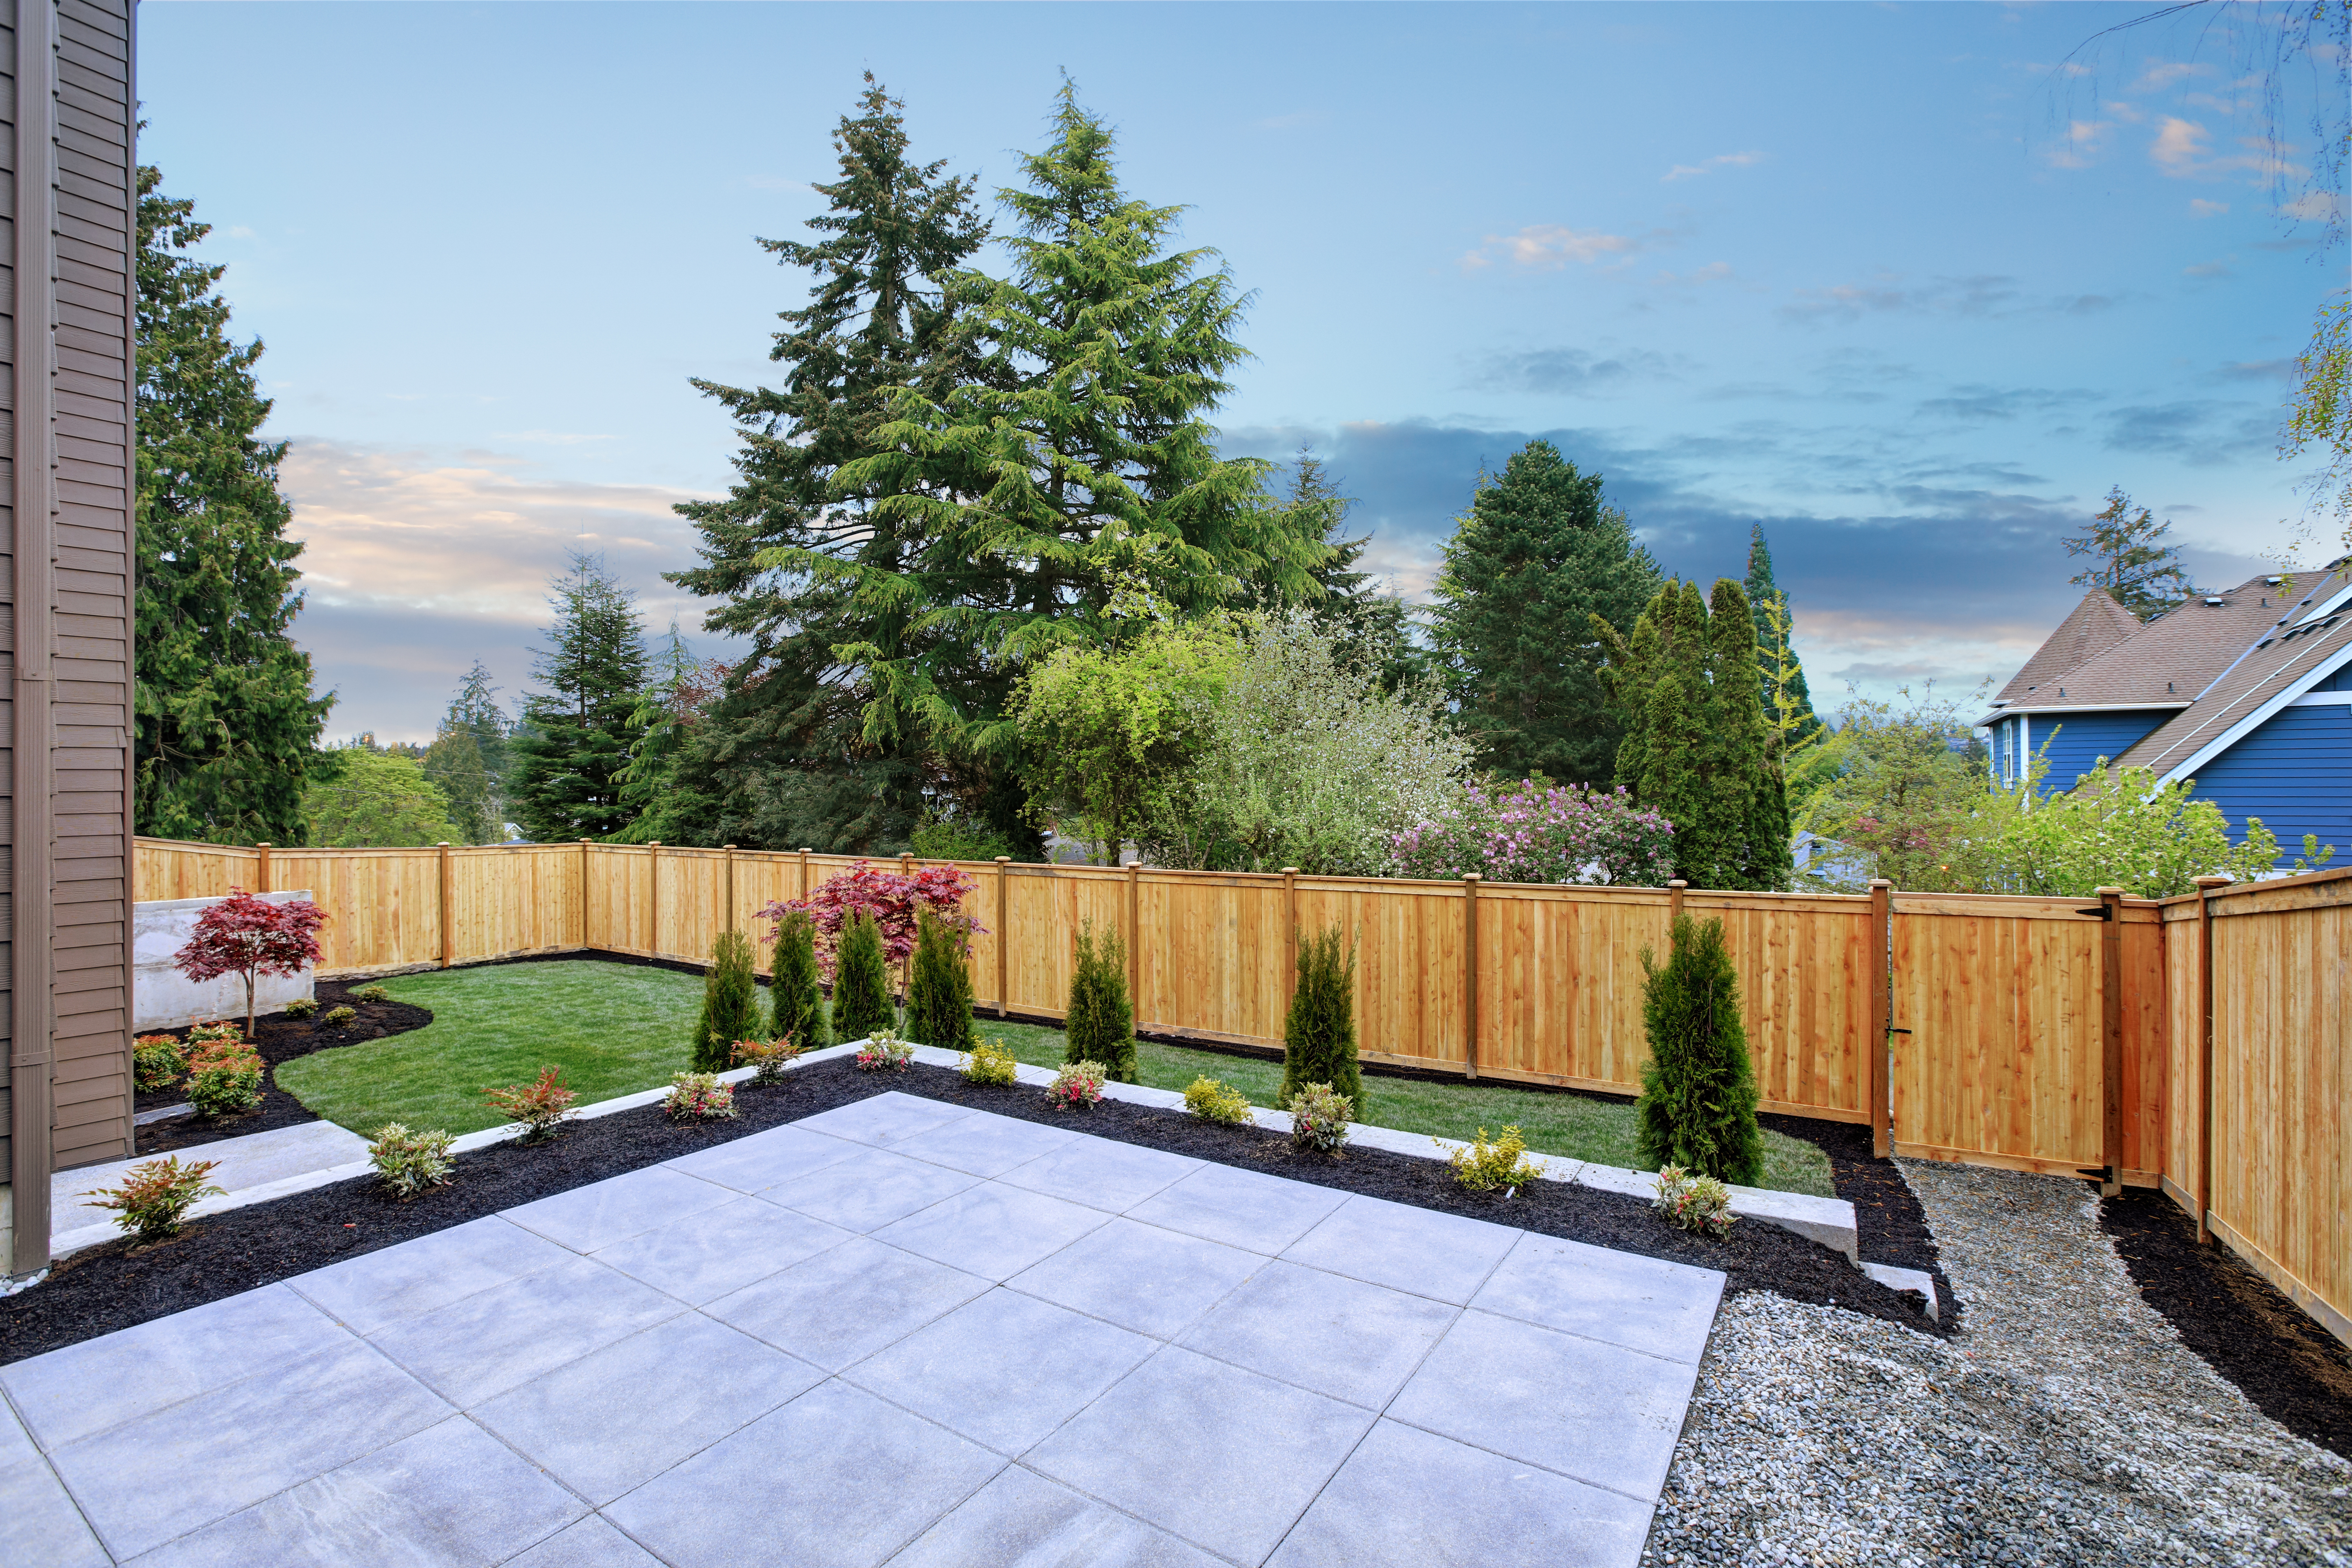
Over the last few years, we have started to see a more consistent ‘summer’ which means we are heading to our gardens for a space to relax and host social gatherings. This means we want our gardens to look the best they can.
Laying outdoor tiles can be tricky, but with our how-to guide, we hope to help you through the steps.
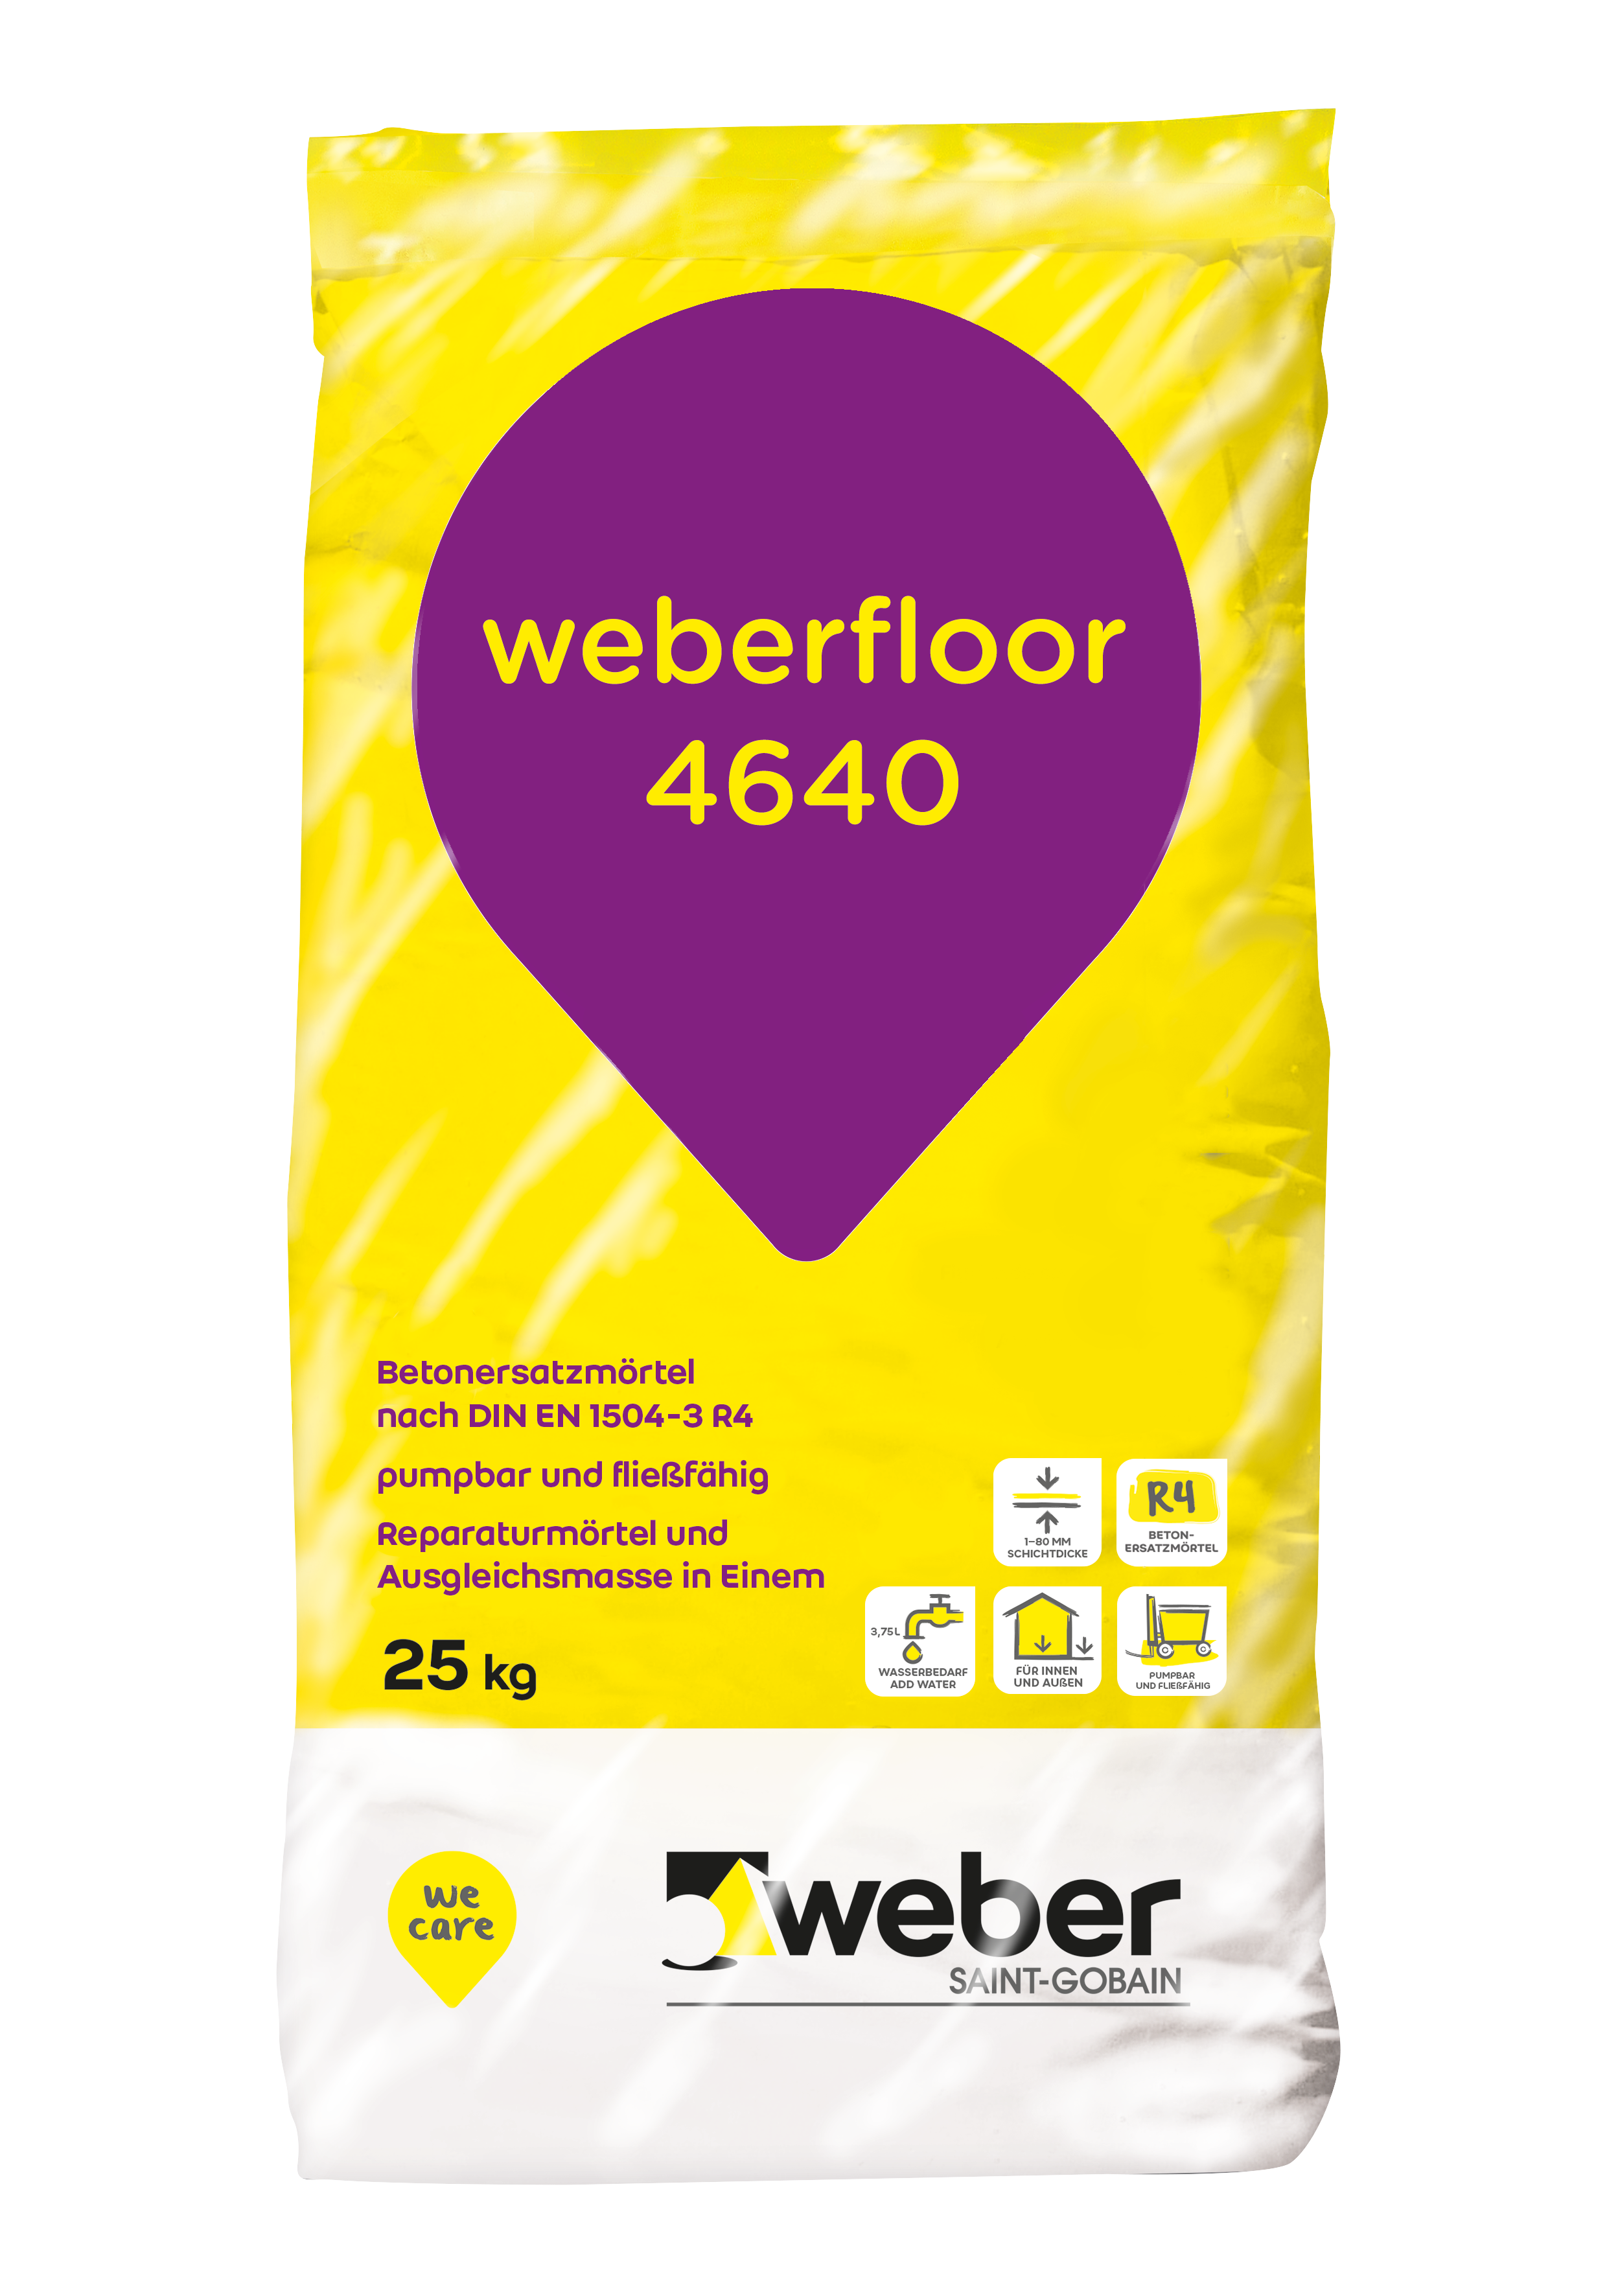
Exterior tiles should be laid onto concrete or a cement sand screed, such as weberfloor 4640 external screed, at a thickness of 50mm. weberfloor 4640 can be hand or pump applied and is resistant to frost and de-icing salts, so makes for a great external screed option.
When using weberfloor 4640, mix with a maximum of 3.75L of water per 25kg bag for 1 - 2 minutes until lump-free, using a slow-speed electric paddle mixer. Allow to stand for approximately 3 minutes and mix again. weberfloor 4640 should be poured and distributed evenly with a serrated edge rake, afterwards smooth with a wobble bar. A flat trowel can also be used in case of small areas and/ or corners with difficult access.
It is important that you think about the water drainage in your garden.
Always aim to slope your drainage away from your house, either onto the grass
or you can consider using a french drain. You should allow for a drainage fall of 2mm over 2 meters.
Next, you should fix the tiles onto a solid, strong cement-based tile adhesive.
All tile adhesives should be applied at 5°C and rising, apply the adhesive onto the substrate covering up to 1m2 at a time (or no more than can be tiled within 10 minutes). When using as a pourable adhesive, pour onto the floor and spread with a solid bed trowel. Use a suitable notched trowel to achieve a bed thickness of 3 to 6mm. Tiles with studded backs may need to have adhesive buttered onto the tile back as well.
Bed the tiles firmly into the adhesive with a slight sliding and/ or twisting action, to ensure a good contact, the final adhesive bed should be free from voids. Leave appropriate clearance joints for grouting and make any adjustments within 10 minutes.
You can use either weberset SPF rapid, weberset SPF or weberset thick bed for this step, depending on the tile size, tile type and required drying time.
You will then need to grout the joints with weberjoint premium grout, when mixing, it is recommended that a low-speed mechanical mixer is used. The mix ratio is approx. 4 parts of grout to 1 part water by volume. Add the powder gradually to clean water. Mix to a smooth stiff paste. Allow to stand for 2 minutes and re-mix thoroughly. Be sure not to apply at temperatures below 5°C. Use a squeegee or a rubber float, apply the grout to a small area at a time. Fill the joints leaving no voids.
If you have any questions or would like assistance, please do not hesitate to contact us.
Find all our products near you in more than 1,000 branches